Introduction
The ER-28 Handheld App provides 3 key activities that help you provide “Quality Care at Lower Costs.”™ The first activity is Performing Triage with patients. The app displays a series of questions for a given presenting complaint. At the end of this triage process, the app shows a result – either Treat or CONSULT. You then review the “BETS”™ Protocol for the complaint – providing Basics, Evaluation, Treatment and Strategy information.
The ER-28 Handheld App is is distributed exclusively to medical professionals working in Emergency Departments participating in the ER-28 System. This is primarily the Advanced Practice Providers (APPs), but doctors and nurses can also be given access. Hospital managers responsible for participating Emergency Departments are provided with a list of access codes for them to assign to qualified individuals to install and use the ER-28 Handheld App on Apple® iOS® and/or Google® Android® handheld devices.
This online version of this document does NOT contain the Installation and Registration sections. See your Emergency Department manager to receive the complete version of the ER-28 Handheld App User Guide that steps you through the installation and registration process.
Triage Steps
Performing Triage is the primary function of the ER-28 Handheld App. Start by running ER-28 from the Home Screen on your mobile device.
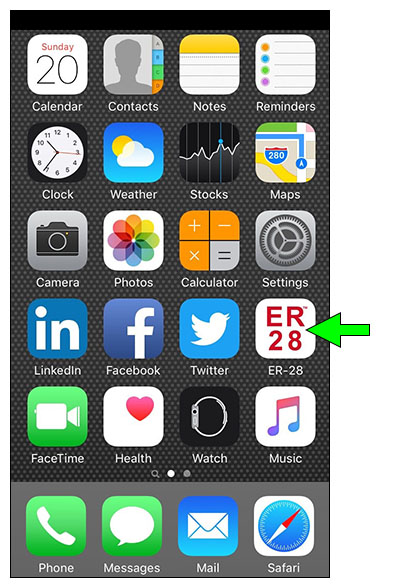
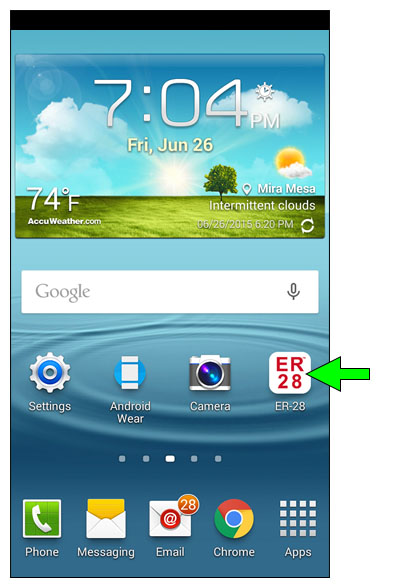
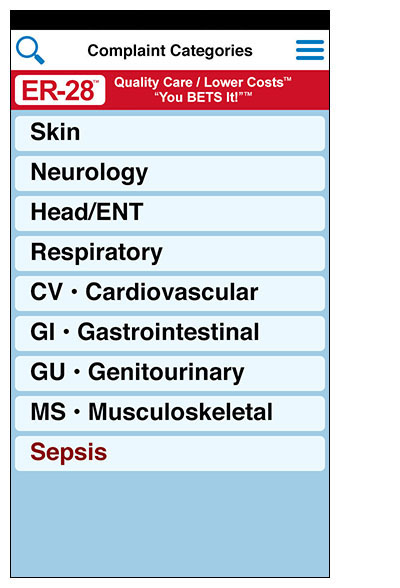
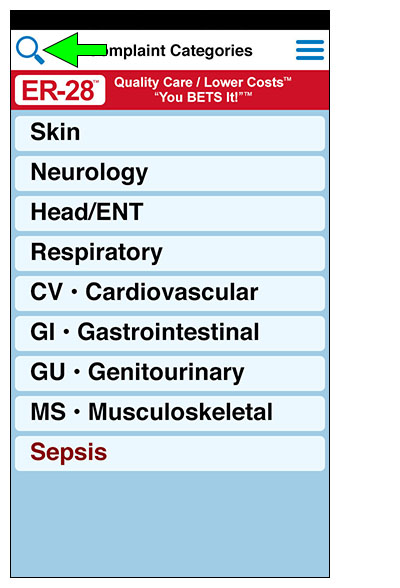
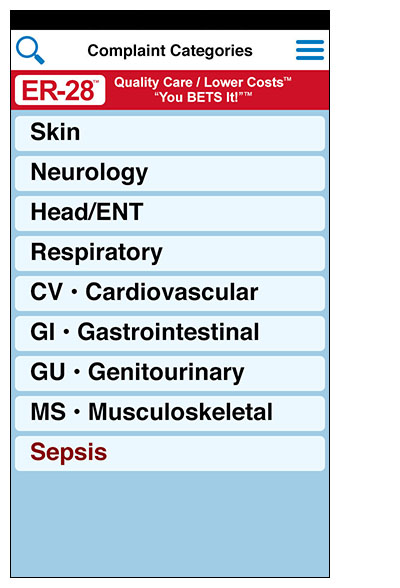
The top-level “Home” page of the app is the Complaint Categories Menu. The following steps guild you through the process for performing triage with patients.
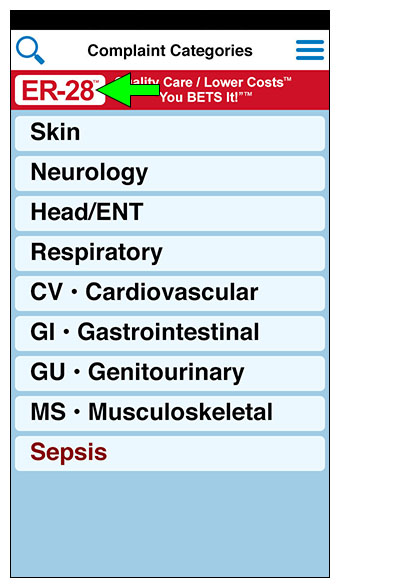
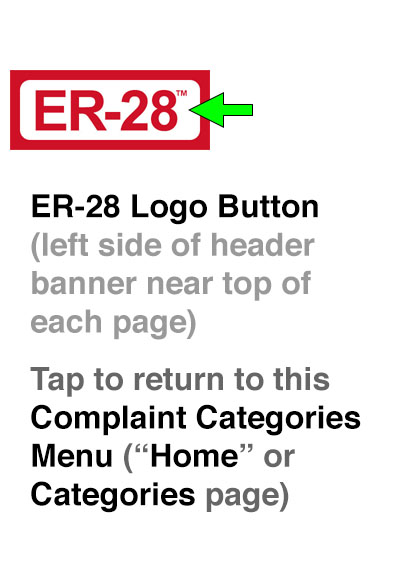
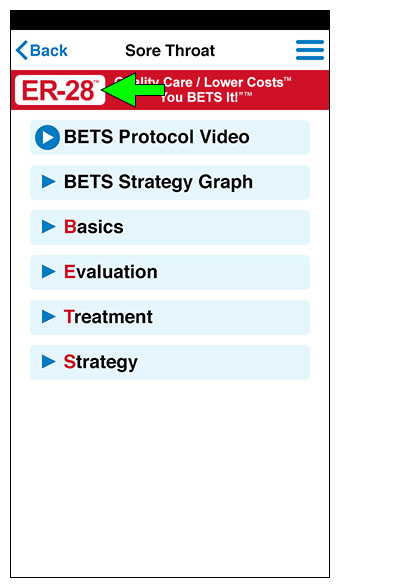
1. Select a top-level presenting complaint category from the Complaint Categories Menu. Tapping the ER-28 Logo button (upper left on each page) will send you back to this Categories page from any other page in the app.
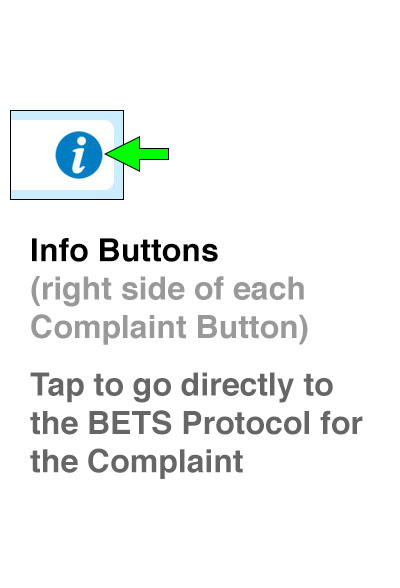
2. Select a specific complaint within the previously selected category. Taping the <Back button takes you back to the Categories page. Tapping the (i) Info button on the right side of any complaint button takes you directly to the BETS Protocol for the complaint.
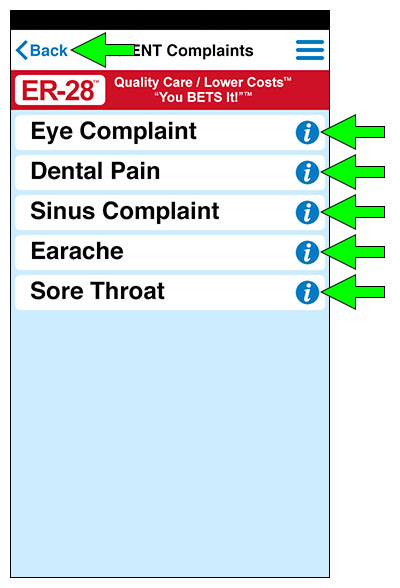
If you don’t see a relevant item, it might be under a different category. So go back to the Categories page (using either the <Back button or the Logo button) to select a different complaint category.
ER-28 covers the top 28 complaints, which represent over 90% of Emergency Department visits. The patient’s complaint will most likely be found in one of the top-level categories. Otherwise, the patient should probably be referred immediately to the attending physician.
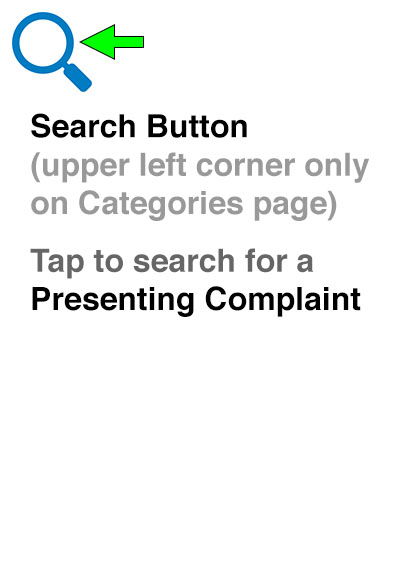
Another way to select a complaint is using a Search. Tap the Search button on the Categories page to access the Complaint Search page.
All complaints from all categories are listed here together in alphabetical order. Tap in the Search Box, then enter one or more keywords related to the complaint you are seeking. Tap the (X) Clear button to begin a new search.
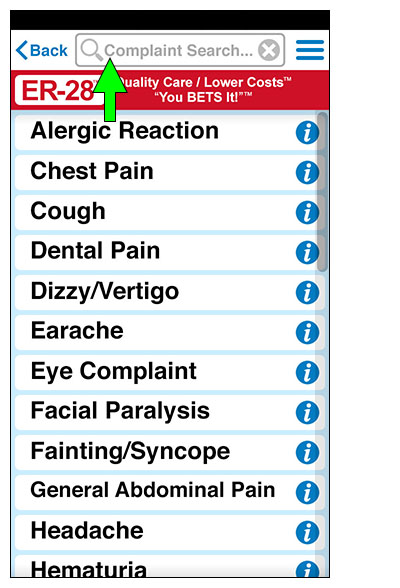
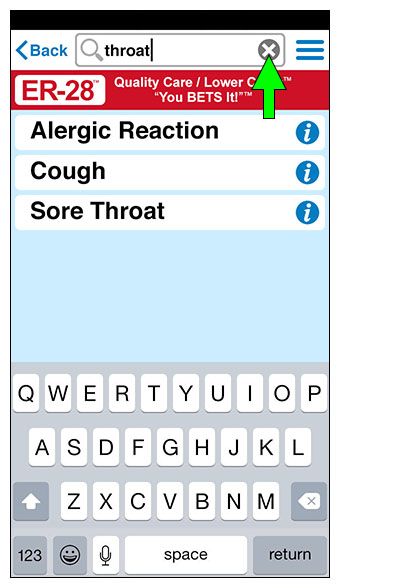
Select a presenting complaint from a Complaints Search page in the same way you would select one from a Complaints Menu for a selected Complaint Category. The (i) Info button on the right side of these complaint buttons take you directly to the BETS Protocol for the complaint – just like any other Complaints Menu.
3. Once you’ve selected a complaint (using either a Complaints Menu or a Complaint Search), you will be presented with a series of questions regarding the patient. For each question, answer either No or Yes. Tapping the <Back button moves back to the previous question or page. You can skip directly to the BETS Protocol for the complaint by tapping the (i) Info button.
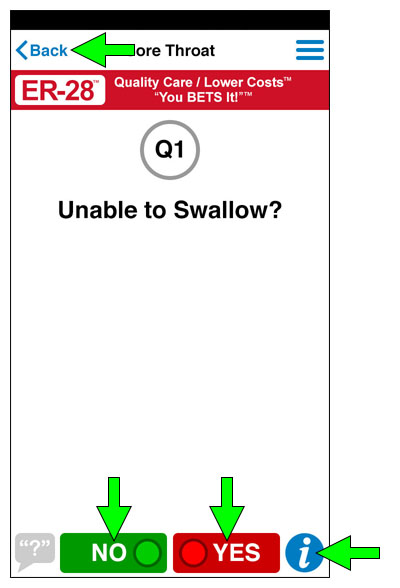
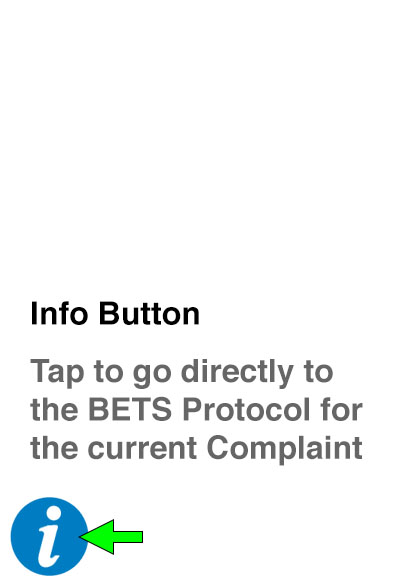
The No and Yes buttons are either Red or Green, depending on the result of tapping the answer. Tapping a Red No or Yes button leads to a CONSULT result. Tapping a Green No or Yes button leads to another question or a Treat result.
Some triage questions have an active Tips button. Tap this button to learn more about how to ask and/or answer the question. Some Tips have “quoted scripts” suggesting how to ask the question to the patient. Others have suggestions for what you can do to answer the question. Tap the Tips button again to hide the Tips text.
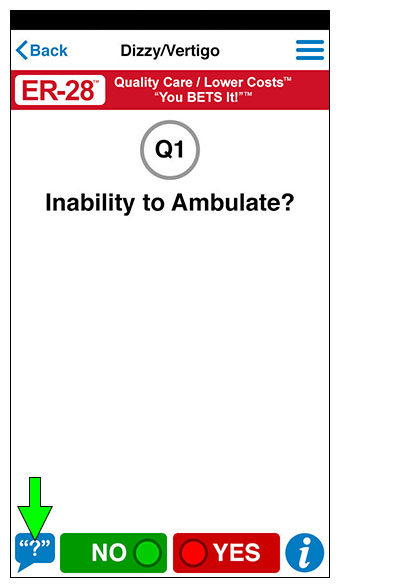
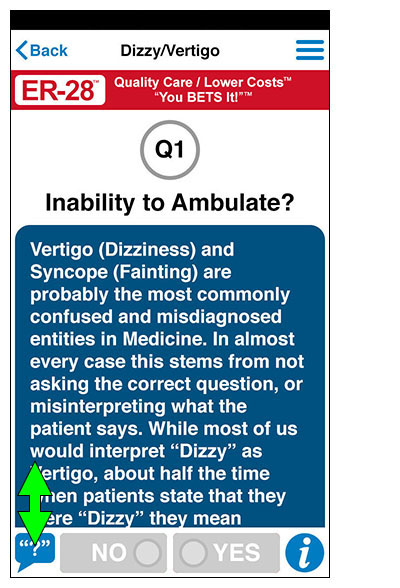
4. When all triage questions have been answered, a Result page appears, indicating either Treat or CONSULT. For some complaints, a diagnosis or other specific information may appear under the Treat or CONSULT icon. Tap the BETS Protocol… or the (i) Info button to proceed to the BETS information. Tapping the <Back button takes you back to the last question.
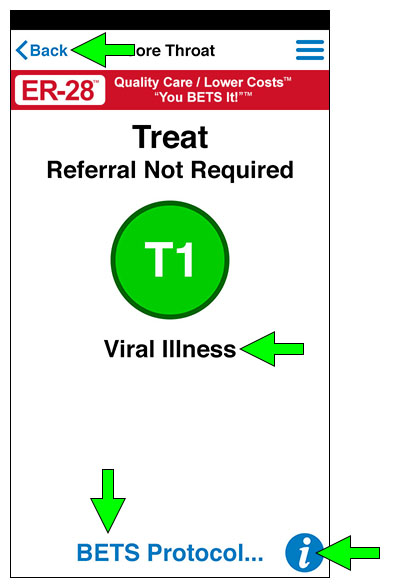
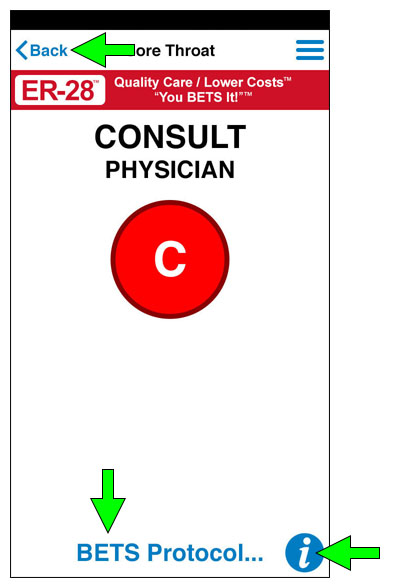
For a Treat result, the BETS Protocol describes the evaluation and treatment. For a CONSULT result, the BETS Protocol is educational, but not required reading at this time – as you will immediately consult with the attending physician.
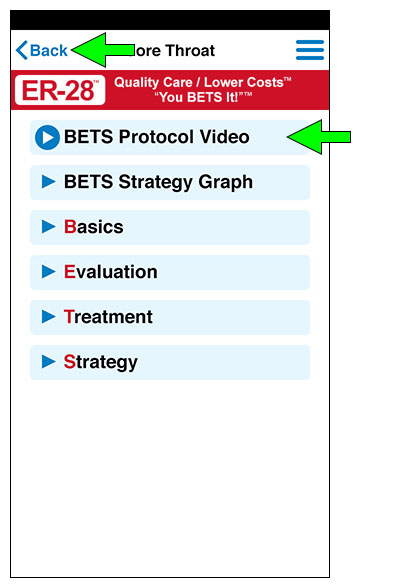
5. The BETS Protocol for each complaint includes an introductory Video. Next comes a Strategy Graph. This is followed by the Basics, Evaluation, Treatment and Strategy information. Tap any of these buttons to reveal (or hide) their content. Tapping the <Back button takes you back to the previous page.
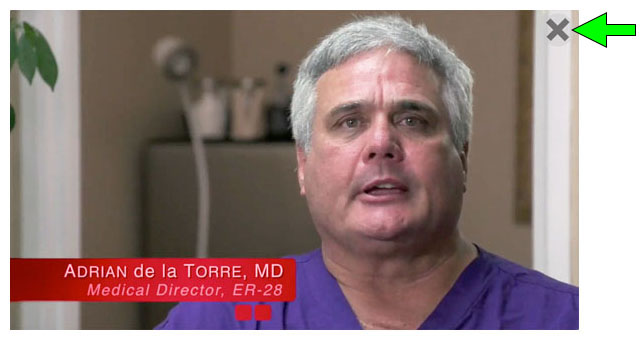
Tap the BETS Protocol Video button and then tap the (>) Play button inside the video frame to start playing the video.
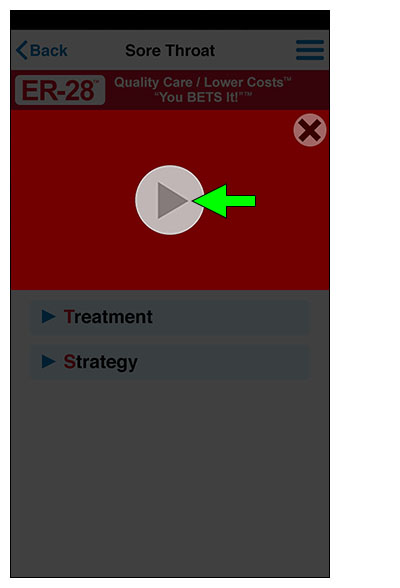
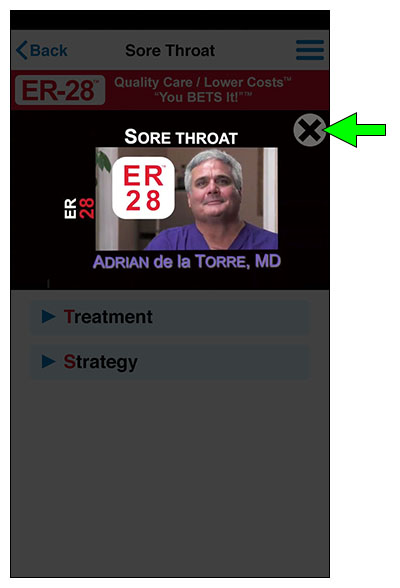
Rotate your device to landscape orientation to see the video full screen. Tap the (X) Close button or outside the video frame to return to the BETS Protocol page.
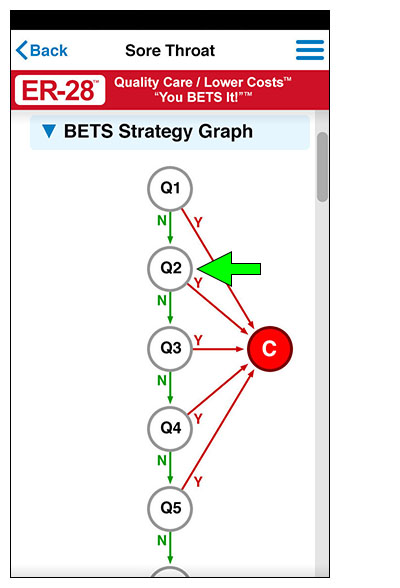
Tap the BETS Strategy Graph button to reveal an illustration of the entire triage process for the selected complaint. This graph is also interactive – so you can randomly access the individual questions and navigate through them without leaving the context of the BETS Protocol page. Tap on any circle on the graph for a popup showing information for that step.
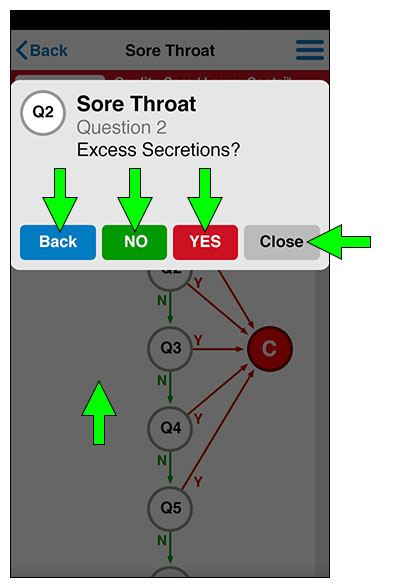
On this popup, the Back, No and Yes buttons all navigate through the steps like they do on the Question pages. Tap outside the frame or on the Close button to dismiss the popup and return to the graph.
The remaining items on the BETS Protocol page are all text sections (some having photos and/or illustrations). You can tap these buttons one at a time in any order or combination to reveal (or hide) the sections you wish to review.
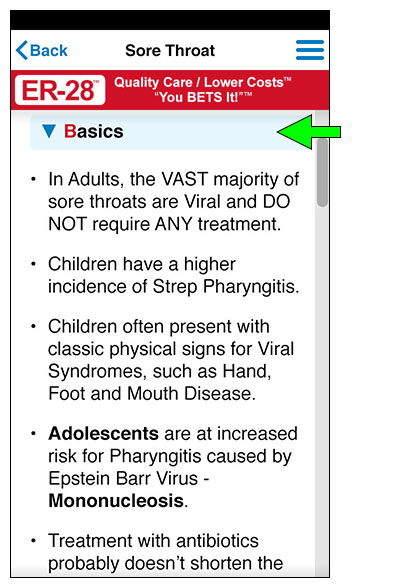
6. When you are finished reviewing the BETS Protocol for a particular complaint, tap on the ER-28 Logo button to begin a new triage sequence.
More Assistance
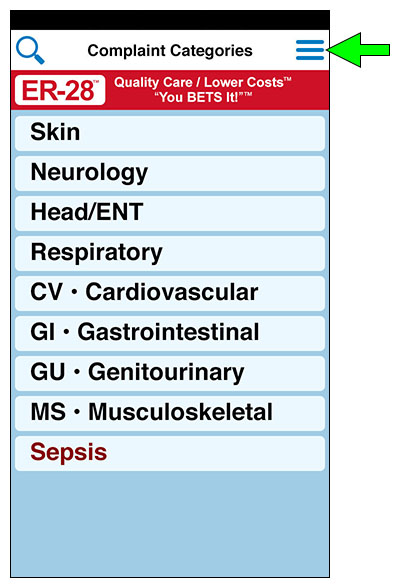
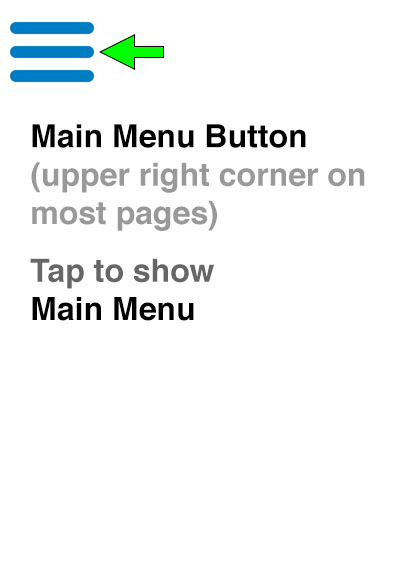
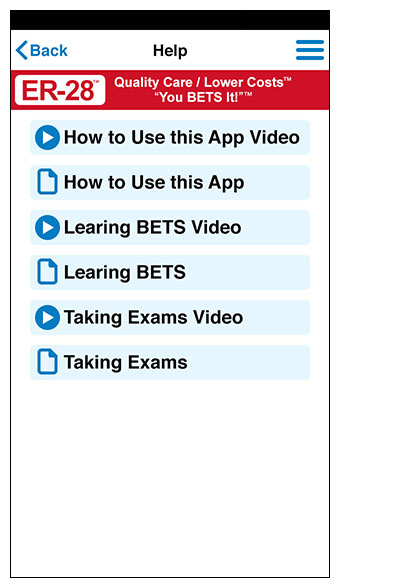
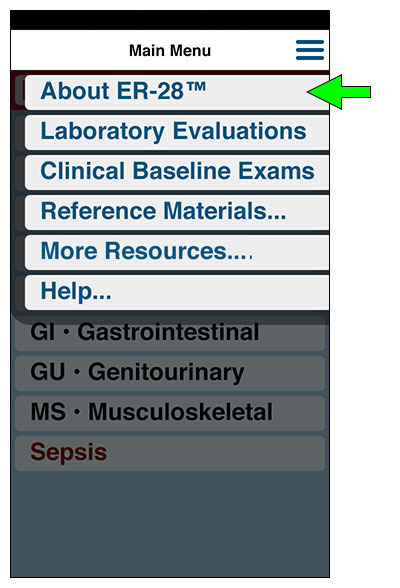
For more assistance, please view the Help videos and documents inside the ER-28 app. Tap the Menu button (at the top of most pages) to show the Main Menu. Select Help… to show the Help videos and documents menu. Then select a Help item to view. These Help items are also available in the Support section of this website.
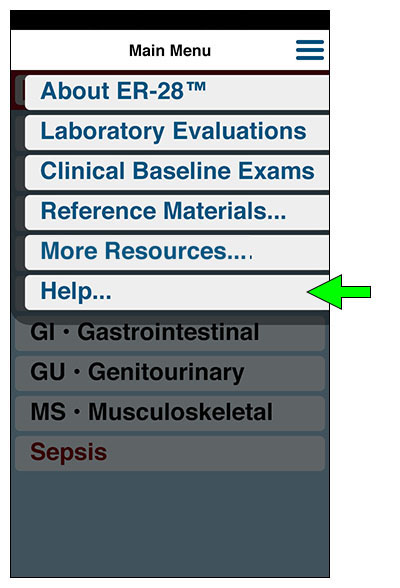
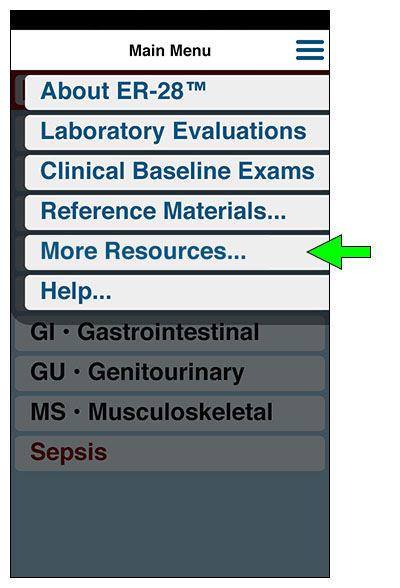
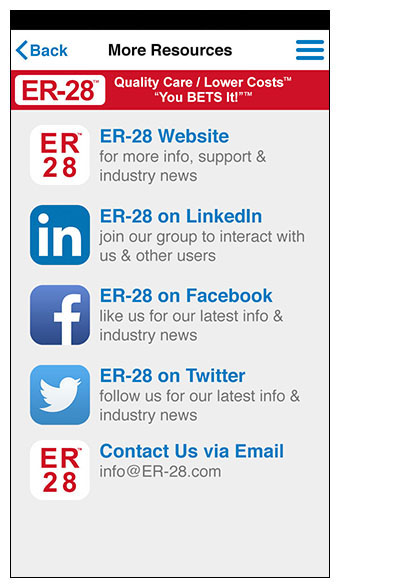
To link to this website from inside the app, select More Resources… from the Main Menu. You can also find support on the ER-28 Social Media Sites, or contact us directly at info@ER-28.com.
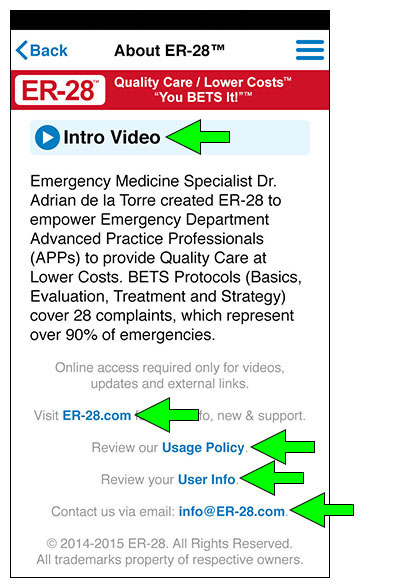
The About page also links to the ER-28 support website and email; as well as the ER-28 Intro Video, Usage Policy and User Info inside the app.
App Updates
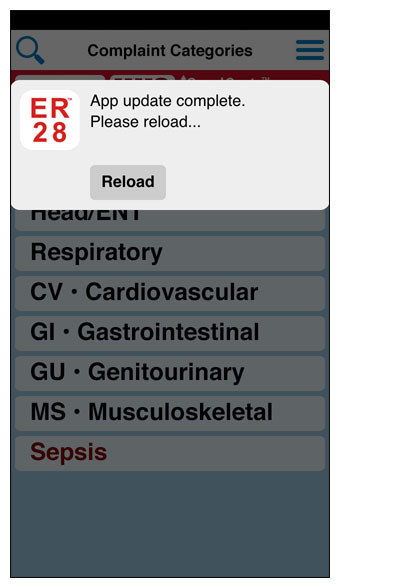
The ER-28 Handheld App (and this User Guide) may be updated at any time. Once loaded, the ER-28 app can run offline (online connection required only for updates and to view videos). Any time the app is reloaded/rerun it checks for an updated version on the ER-28 server. If the app fails to connect to the ER-28 server, the app will run the last complete version it previously loaded. Otherwise, it will download and install the newest version in the background and notify you when it is ready to reload.
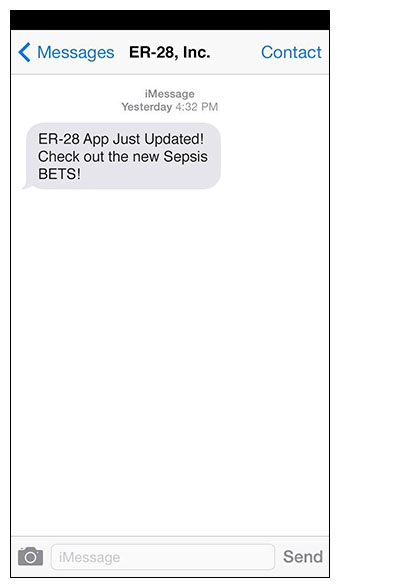
The ER-28 server also sends app update and other even alerts that you can opt to have sent to you as text messages, email or both (see User Info – accessed from the About page).
